How to Shoot a Jump Shot
Balance, eyes, elbow, follow-through. A step-by-step guide to a repeatable jump shot: stance, grip, set point, release and follow-through, plus simple drills you can do at any court.
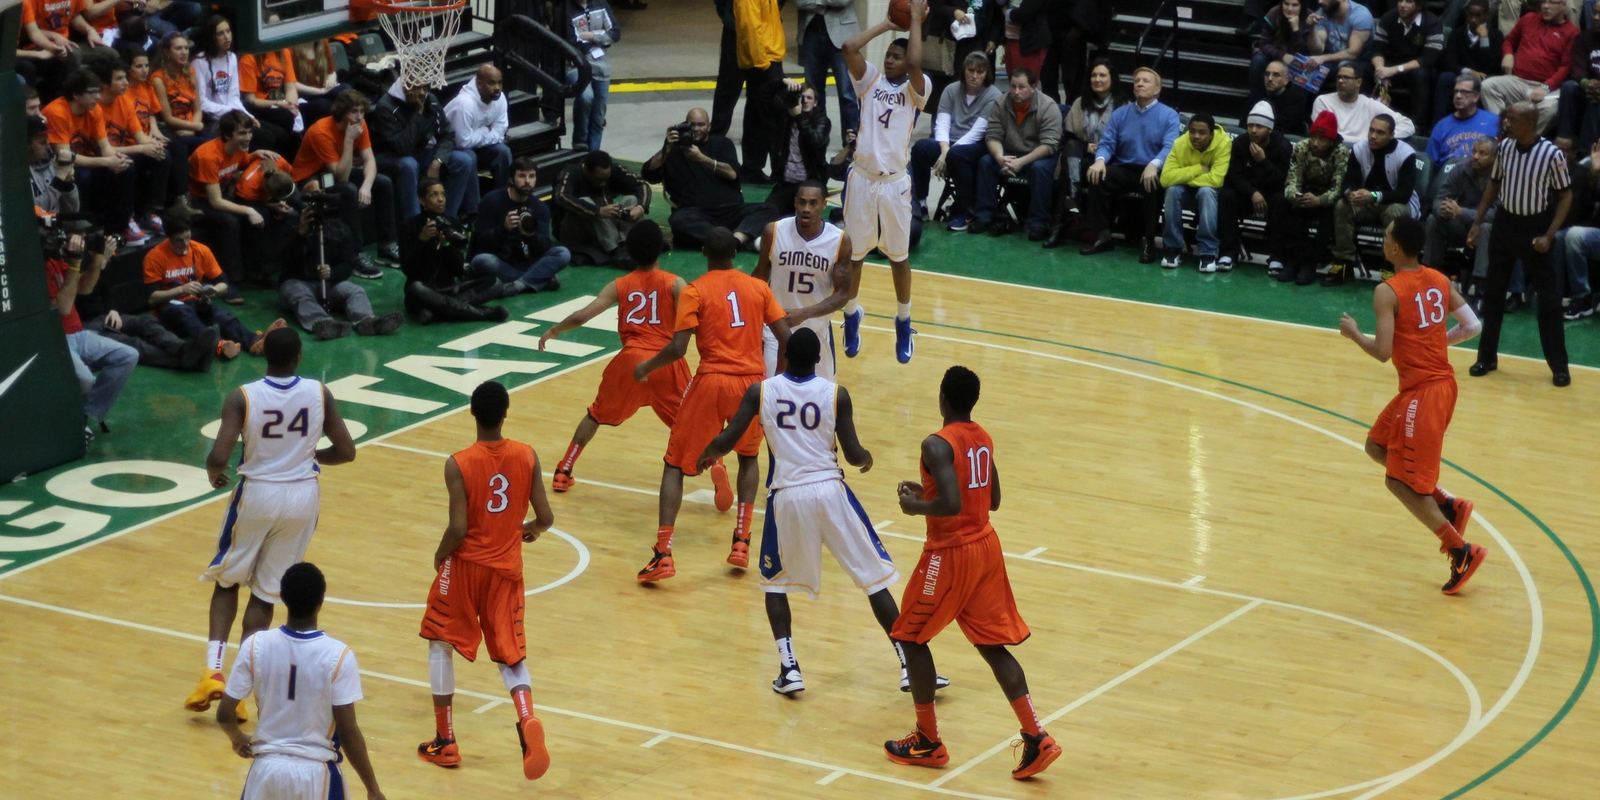
Rising for a jumper: TonyTheTiger, CC BY-SA 3.0
Where the jump shot came from
Early players shot with two hands from a standing set. In the 1930s and 1940s players such as Kenny Sailors helped popularize leaping and releasing at the top of the jump, which made shots much harder to block. Today it is the most important skill in basketball.
A great shot is not about strength. It is about doing the same motion the same way every time.
B.E.E.F.: the four basics
Balance: feet about shoulder width, knees bent, toes pointed at the rim. Many shooters turn their feet slightly toward their shooting hand side, which lines up the elbow.
Eyes: pick a target, usually the front of the rim or just over it, and keep your eyes there until the ball arrives. Elbow: hold the ball on your fingertips, with your shooting elbow under the ball, not flared out. Your guide hand rests on the side of the ball and does not push. Follow-through: snap the wrist so your fingers point at the rim, and hold that finish until the ball lands.
Rising and releasing
Bring the ball up in one smooth line to your set point, around your forehead, as your legs push you up. Release near the top of your jump. Power comes from your legs, so if you are falling short, bend more, do not throw harder with your arms.
Aim for a soft arc. A flat shot has a smaller target. A ball coming down from a higher angle sees more of the rim and gets friendlier bounces.
Many young players shoot from the chest because the ball feels heavy. That is fine at first, but raise your set point as you get stronger, because a higher release is harder to block. A smaller ball and a lower hoop help kids build good habits.
Three drills to groove it
Form shooting: stand one step from the rim and shoot with only your shooting hand. Make 10 in a row, then step back. One-motion makes: from the free throw line, shoot 25 shots and count swishes only. Spot shooting: pick five spots around the arc, make five at each before moving on.
Record yourself on your phone from the side and from behind. You will quickly see if your elbow drifts or if you are fading. Keep a notebook of makes and attempts, and watch your percentage climb over a few weeks.
Free throws are a great check on your form because they are the same shot every time.
Step by step
- Square up: Feet shoulder width, knees bent, toes toward the rim, weight on the balls of your feet.
- Grip and set: Ball on the fingertips, shooting elbow under the ball, guide hand on the side. Bring it up to just above your forehead.
- Rise: Push through your legs and lift the ball in one straight line as you jump.
- Release: Near the top of the jump, extend the arm and snap the wrist so the ball spins backward.
- Hold the finish: Keep your wrist bent and fingers pointed at the rim until the ball lands. Land where you jumped.
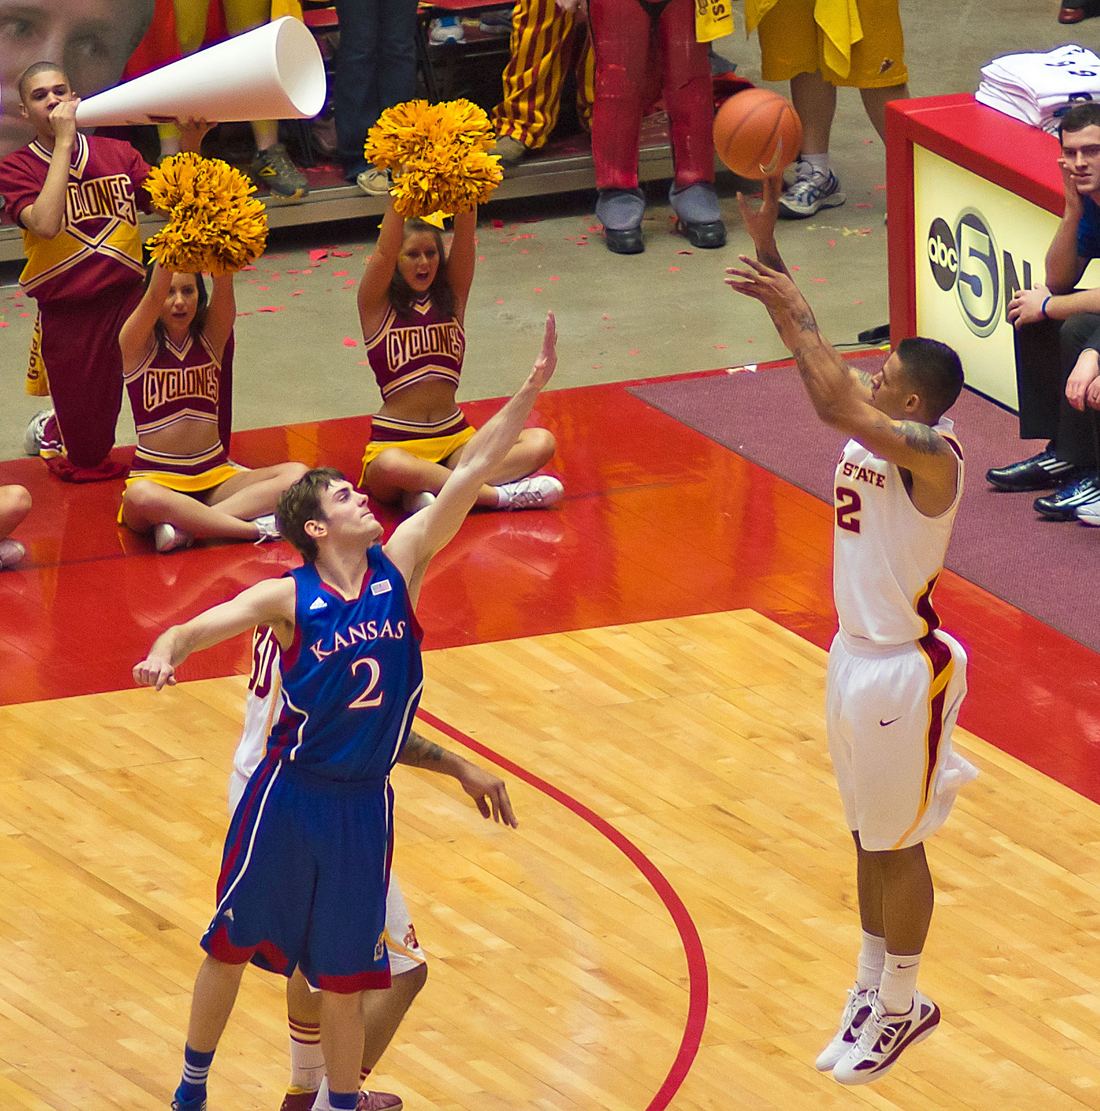
- Rising for a jumper: TonyTheTiger, CC BY-SA 3.0
- Shooting a three: SD Dirk, CC BY 2.0
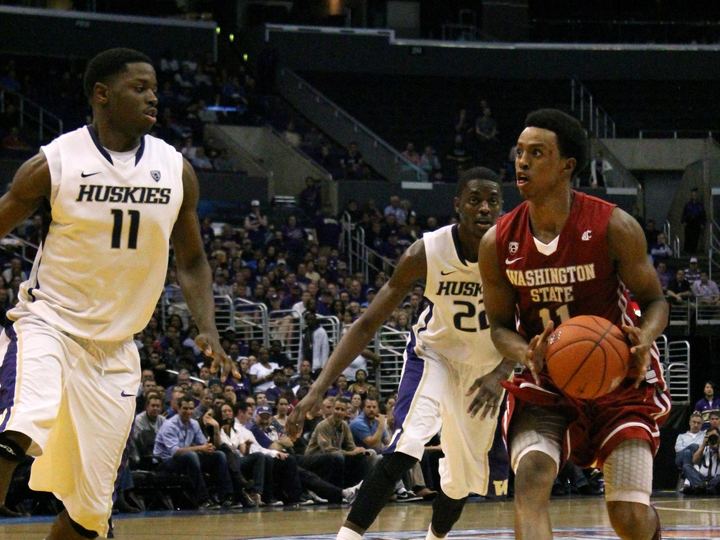
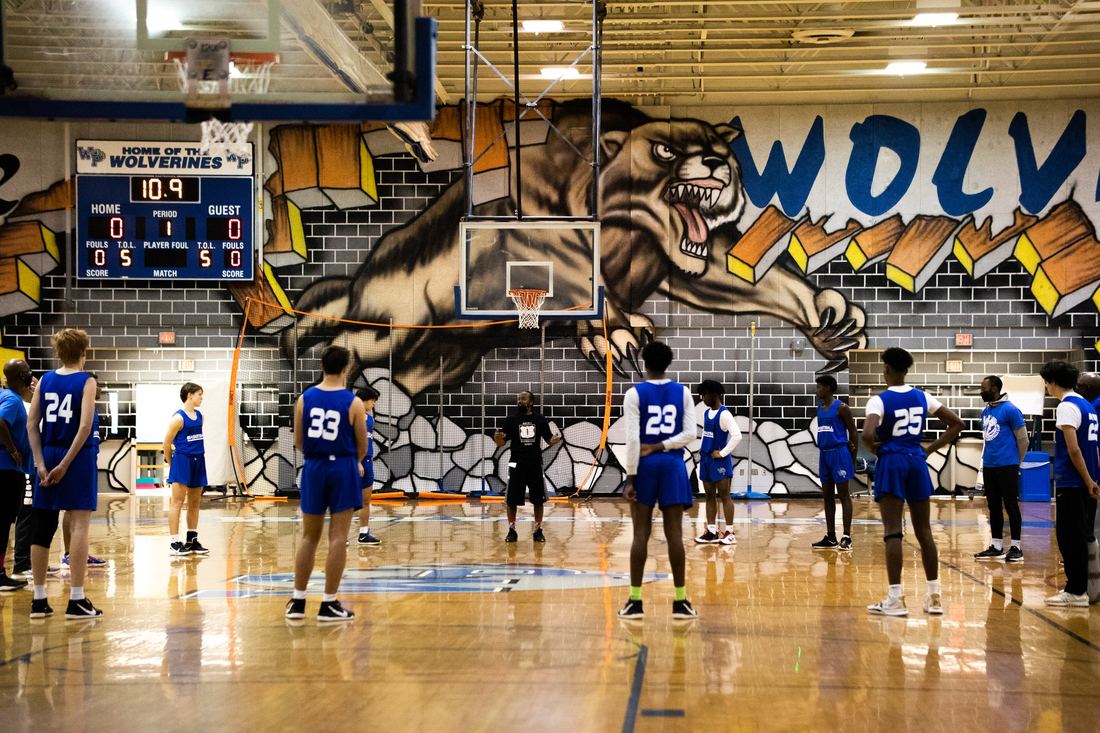
- Shooting practice: Seandaros, CC0
Text written by Fly Baller.